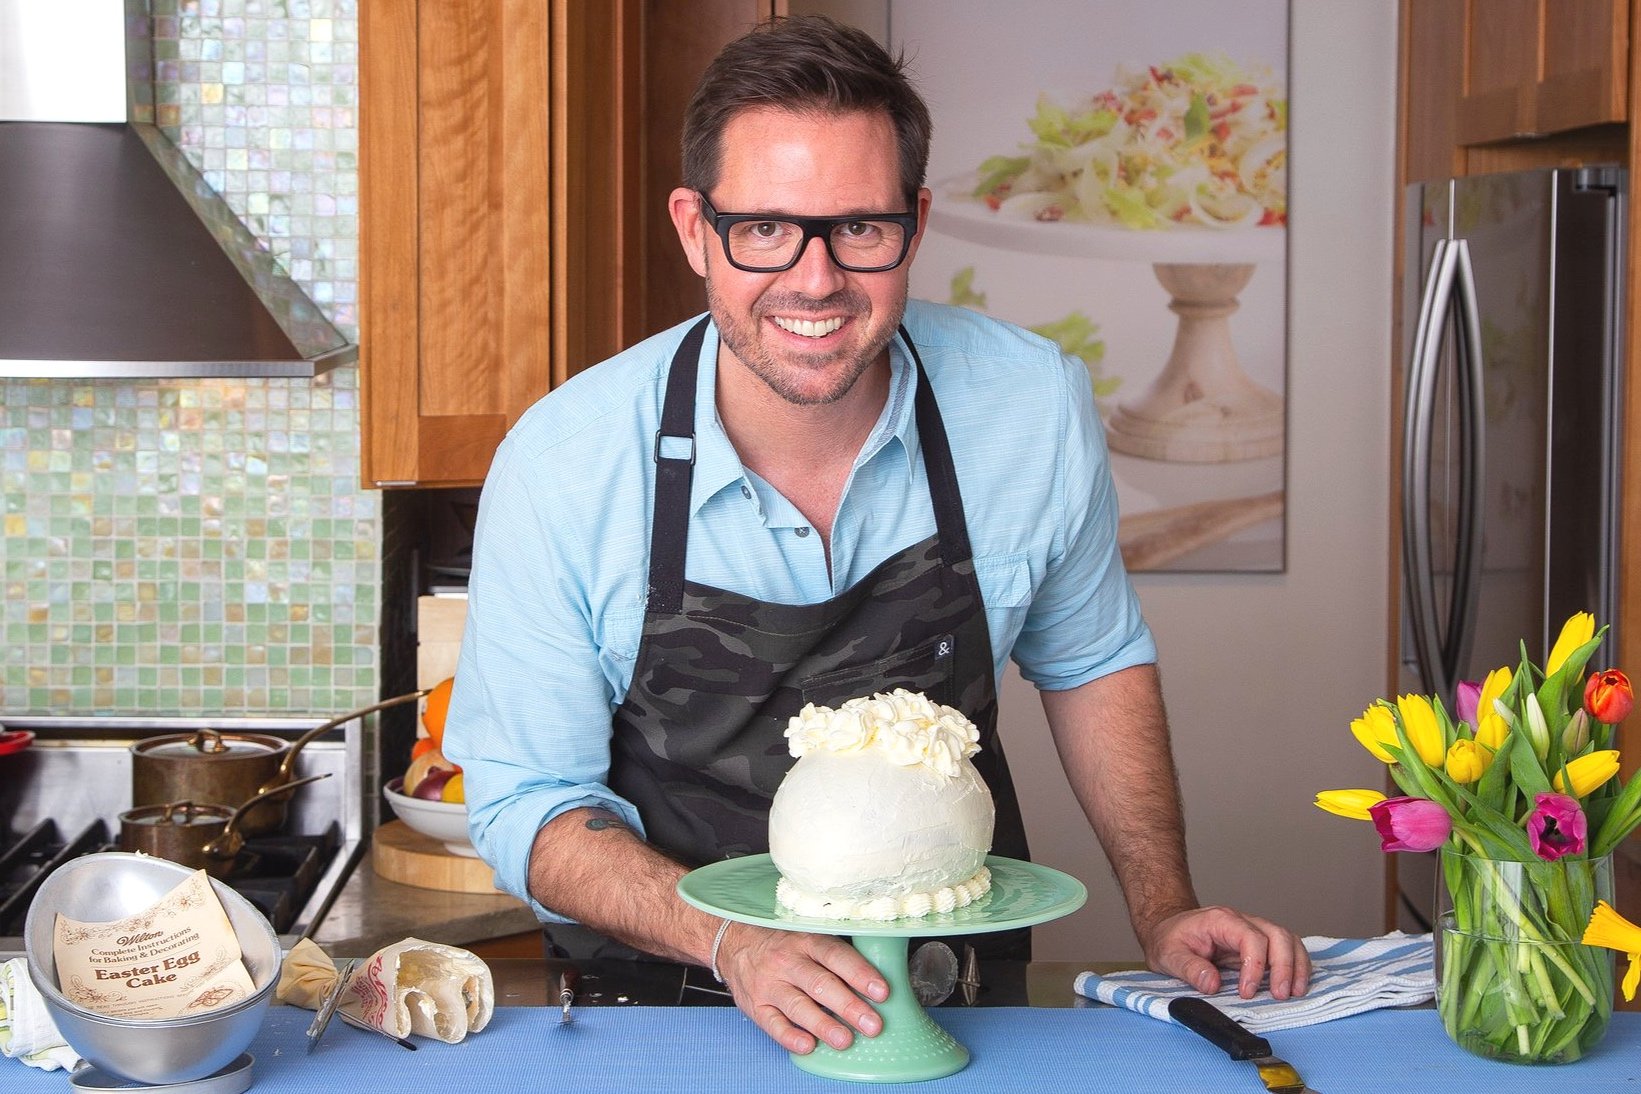
How To Make Frosting Roses...for Chadwick's Easter Egg Cake

Photo by Brooke Slezak
How To Create Roses & Leaves with My Easy Italian Buttercream Frosting
Making the roses for my Almond Olive Oil Easter Egg Cake may appear difficult, but don’t be deceived…once you learn the steps and get the feel of the few, inexpensive tools needed to create them, they become fairly easy.
I have been making roses with buttercream frosting since Grandma Clara first sat me down at her kitchen table with a Wilton practice board when I was a boy. I marveled at the ease at which she made roses, daisies, tulips, daffodils, and many other flowers with buttercream frosting. She taught me the simple steps, then let me practice and play until I got a handle on the process. I want you to feel like you have the same support here as Grandma Clara gave me.
I like the Easter Egg Cake in all white. I think it is more elegant. It certainly is more simple. Feel free to use whatever food coloring you would like for a pretty spring look.
The Tools You Will Need
You can buy this full Wilton Decorating Set, which provides everything you need.
You also can purchase items separately:
Pre-cut icing flower squares or cut 2-inch squares from parchment or wax paper


To Make the Roses
Grandma Clara learned how to decorate cakes by taking classes at her local Wilton store. I have her decorating kit from the early 1970s and still use it today. To make roses and leaves, I follow the same steps that Wilton shares on its blog. I share them below – with a few adjustments I have learned along the way. Wilton has a great YouTube Channel, too, if you are interested in watching video tutorials to expand your skillset. (This is not a sponsored post. I am a fan of Wilton and its years of teaching home bakers how to make beautiful cakes to celebrate special life moments.)
For the Easter Egg Cake, you want to make 18-20 roses total.
To Start
Attach the coupler to the decorating bag and fill it two-thirds full with the Italian Buttercream frosting.
Pipe a small dot of frosting on the Flower Nail and place a flower square on top. (In the photos, I am not using one, but it’s easiest especially for beginners to use flower squares.)


Now, Make the Rose Base
Make the rose base, using Decorating Tip #12 and the Flower Nail. Hold the bag straight up, with the end of Tip #12 slightly above the center of the waxed paper-covered flower nail, which is held in your other hand. Using firm and steady pressure, squeeze out a heavy base of frosting, remembering to keep the tip buried as you squeeze. Gradually raise the tip, and decrease the pressure when the rose base is about ¾-inch high (1.9 cm) in diameter.
Stop the pressure, pull up and lift away. The rose base should be 1½ times as high as the opening of Tip #104, about the size of a chocolate kiss.
Create the Center Petal
Switch out the tip on the decorating bag for Tip #104.
Hold the nail with the rose base in your left hand and the bag with Tip #104 in your right hand. The decorating bag should be at a 45-degree angle to the flat surface of the nail and in the 4:30 (7:30) position. The wide end of the tip should touch the cone of the frosting base at or slightly below the midpoint, and the narrow end of the tip should point up and angle slightly inward.
Next, do 3 things at the same time: 1) squeeze the bag, 2) move the tip, and 3) rotate the nail. As you squeeze the bag, move the tip up from the base, forming a small arc or ribbon of frosting. Slowly turn the nail counter-clockwise to bring the ribbon of frosting around to overlap at the top of the mound, then back down to the starting point. Stop squeezing and lift the tip away.
Move the tip straight up and down only; do not loop it around the base. Now you have a finished center bud.
Make the First Row of Petals
Make the top row of 3 petals with Tip #104. Touch the wide end of tip to the midpoint of the bud base, narrow end straight up.
As you turn the nail, the up and down motion of the tip will make a half circle-shaped upright petal (see images above for reference). The wide end of the tip must touch the rose base so the petal will attach. Move the tip up and down to the midpoint of the base, forming the first petal.
Start again, slightly behind the end of first petal, and squeeze out the second petal. Repeat for the third petal, ending by overlapping the starting point of the first petal. Rotate the nail one-third of a turn for each petal.
Make the Middle Row of Petals
Make the middle row of 5 petals still using Tip #104. Touch the wide end of the tip slightly below the center of a petal in the top row. Angle the narrow end of tip out slightly more than the top row of petals. Squeeze the decorating bag and turn the nail moving the tip up, then down, to form the first petal.
Repeat for a total of 5 petals, rotating the nail one-fifth turn for each petal.
The last petal end should overlap the first's starting point.
NOTE: You can stop here as I did for the Easter Egg Cake. OR, you can continue with the next step below and make fuller, larger roses, which are beautiful, too.
Make the Bottom Row of Petals
Make the bottom row of 7 petals with Tip #104. Touch the wide end of the tip below the center of a middle row petal, angling again the narrow end of tip out a little more. Squeeze the bag and turn the nail to the end of your fingers, moving the tip up, then down to form the first petal. The narrow end of the tip is angled out a little further, so the petals appear more open.
Repeat for a total of 7 petals, rotating the nail one-seventh of a turn for each petal. Make the petals the same length as in the previous rows.
The last petal end should overlap the first's starting point.
Slip the waxed paper with the completed rose from the Flower Nail and place on a large cutting board. Set aside. Repeat 17-19 more times.
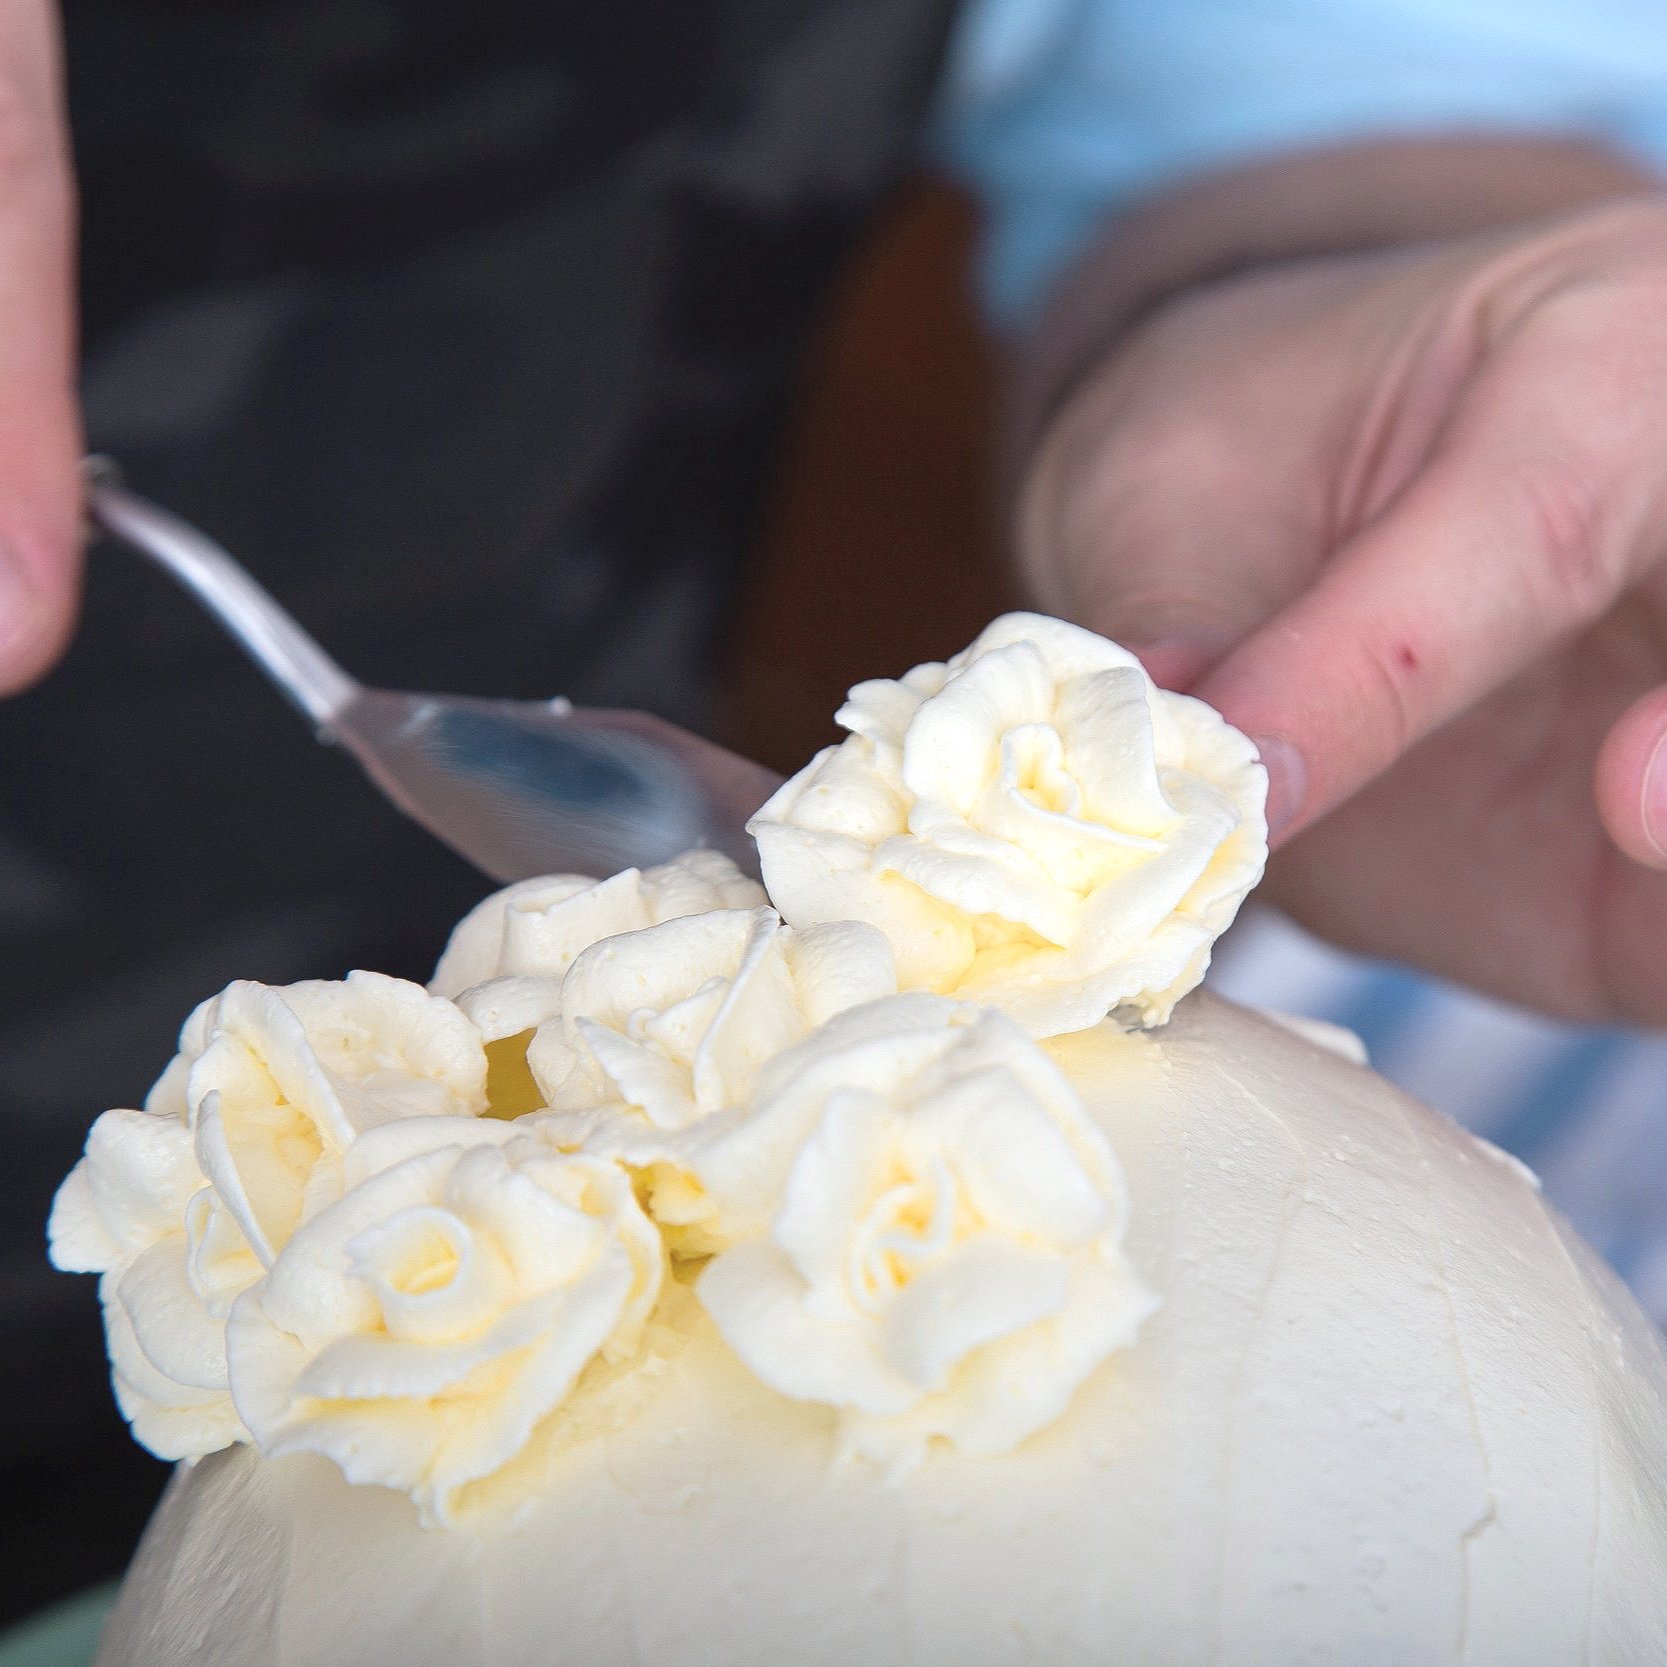
To Finish Decorating the Cake
Using the offset spatula, lift each rose off the flower square and carefully place on the crown or the widest part of the top of the Easter Egg Cake. Arrange 4-5 roses across, then taper forward toward the narrow, pointed part of the cake: 3 roses across, then 2 more in front of that row, then 1 more.
Place 3-4 roses behind the largest row of 4-5 roses on back end of the cake.
Swap the Decorating Tip to Tip #68 and make the leaves.
With the flat or horizontal part of the tip facing up (rather than narrow and vertical), hold the Decorating Bag at a slight angle from the base of a rose. Squeeze slowly and hold to form a base, then continue squeezing while relaxing pressure as you pull away from the base to taper off into a leaf point. Stop squeezing before pulling the tip away.
Create 2-3 leaves in and around each rose to finish.